Making the perfect rasgulla at home is an art that combines tradition, precision, and a dash of love. Our comprehensive guide ensures that you embark on this culinary journey with confidence, creating these delightful sweet treats in the comfort of your kitchen.
Ingredients You’ll Need

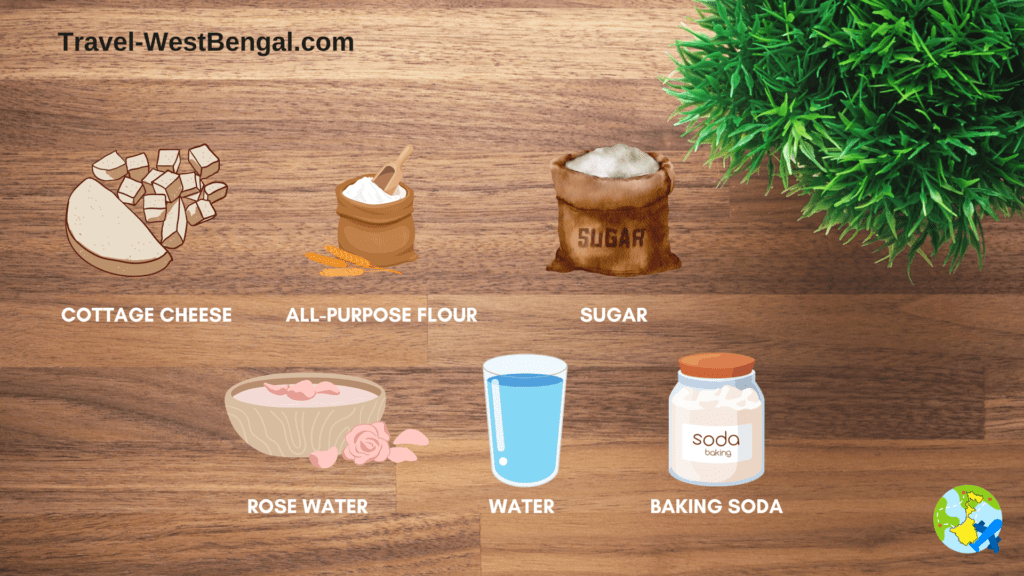
To start your rasgulla-making adventure, gather the following ingredients:
- 1 cup of paneer (cottage cheese)
- 1 tablespoon of all-purpose flour (maida)
- 1/4 teaspoon of baking soda
- 1 cup of sugar
- 4 cups of water
- A few drops of rose water (optional)
The Rasgulla-Making Process
Step 1: Preparing the Paneer
- Curdle the Milk: Bring 1 liter of milk to a boil. Once boiled, add 2 tablespoons of lemon juice or vinegar. Stir until the milk curdles, forming the paneer.
- Strain and Rinse: Once the paneer separates from the whey, strain it using a muslin cloth. Rinse the paneer under cold water to remove any traces of lemon juice or vinegar.
Step 2: Kneading the Paneer
- Smooth Texture: In a large plate, knead the paneer until it becomes smooth and soft. This process ensures the rasgullas have the right texture.
- Add All-Purpose Flour: Incorporate 1 tablespoon of all-purpose flour and 1/4 teaspoon of baking soda into the paneer. Knead the mixture for a few more minutes.
Step 3: Dividing and Shaping
- Divide the Mixture: Divide the paneer mixture into small, equal-sized portions. Roll each portion into a smooth, crack-free ball between your palms.
Step 4: Sugar Syrup
- Prepare Sugar Syrup: In a separate pot, mix 1 cup of sugar with 4 cups of water. Boil the mixture until the sugar dissolves completely, creating a sweet syrup.
Step 5: Cooking the Rasgullas
- Simmer in Sugar Syrup: Gently place the paneer balls into the simmering sugar syrup. Cover the pot and let them cook for 15-20 minutes. The rasgullas will double in size.
- Add Rose Water (Optional): For an extra touch of flavor, add a few drops of rose water to the syrup.
Step 6: Cooling and Serving
- Let Them Cool: Once cooked, let the rasgullas cool in the sugar syrup. This enhances their sweetness.
- Serve Chilled: For the best experience, refrigerate the rasgullas for a few hours before serving. Enjoy these delectable treats chilled.
Conclusion
Crafting perfect rasgullas at home is a rewarding experience that captures the essence of Indian sweets. With our step-by-step guide, you can master this delicacy, delighting your taste buds and those of your loved ones. Embrace the joy of homemade rasgullas, and let the kitchen become your sweet haven.


